How to Layer for a Snow-Sports Day
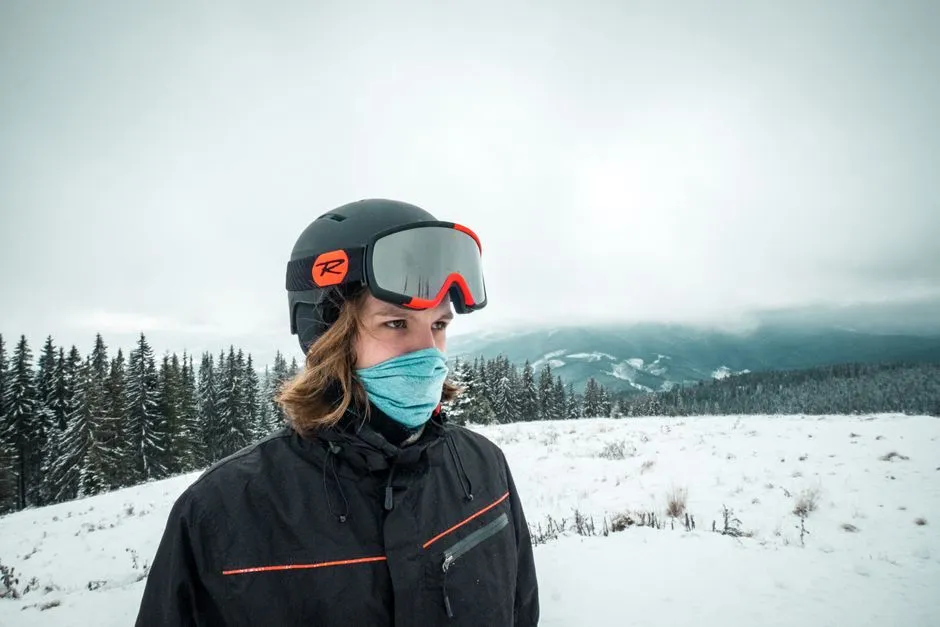
- Use three adjustable jobs: move moisture, hold warmth, block weather
- Begin with the base layer
- Add insulation you can change
- Match the shell to conditions
- Protect hands, feet, head, and eyes
- Use a condition-response table
- Pack changes, not an entire wardrobe
- Adjust at planned pauses
- Dry and inspect everything afterward
Use three adjustable jobs: move moisture, hold warmth, block weather
Layer for a snow-sports day with a next-to-skin layer that manages moisture, an insulating middle layer, and an outer shell suited to the current wind and precipitation. Adjust before becoming soaked or severely chilled, protect exposed skin, and carry only changes you can manage safely. No clothing system makes closed terrain, dangerous weather, or activity beyond your ability safe.
Check current official forecasts, warnings, and operator guidance. High-risk mountain decisions belong with qualified instructors or guides.
Begin with the base layer
The base layer sits against the skin and should move perspiration away while fitting comfortably under other clothing. Choose a material designed for active use and personal skin needs. Avoid wrinkles, bulky seams, or doubled waistbands that become painful under boots or protective equipment.
Cotton can retain moisture and dry slowly, so it is often a poor primary layer for sustained cold-weather activity. That does not make one fabric universally correct; allergies, sensory needs, exertion, weather, and changing facilities matter.
Browse snow-day basics for more preparation checks.
Add insulation you can change
The middle layer traps warmth. Fleece, wool, and synthetic insulated pieces are common options, but thickness should match the person, activity, and forecast. Someone learning slowly in wind may need a different system from someone climbing steadily.
Choose a layer that allows full movement and fits beneath the shell without compression. Carrying one removable mid-layer can be more flexible than wearing one enormous piece that offers only the settings polar expedition and indoor sauna.
Match the shell to conditions
The outer layer manages wind, snow, and outside moisture. Check its current waterproofing, closures, vents, hood compatibility, and fit with helmet or other equipment. Marketing labels do not guarantee comfort in every condition.
Close gaps at wrists, waist, and neck without restricting breathing, circulation, movement, or quick equipment release. Use ventilation before sweat builds heavily, then close it when weather exposure increases.
Protect hands, feet, head, and eyes
Wear gloves or mittens suitable for the activity and carry a dry backup when conditions justify it. Socks should fit smoothly inside properly fitted boots; multiple thick pairs can compress the foot and make fit worse.
Use a helmet and eye protection appropriate to the sport, fitted and worn according to current manufacturer and provider instructions. A thin compatible liner may fit beneath some helmets, while bulky hats can interfere. Never modify protective equipment casually.
Sun, wind, cold, and reflected light can affect exposed skin and eyes. Choose current protective products and medical guidance appropriate to the person, and reapply products according to their actual label.
Use a condition-response table
| What you notice | Immediate low-risk response | Escalate when |
|---|---|---|
| Sweating heavily | Reduce effort or vent in a safe place | Symptoms or judgment worsen |
| Damp mid-layer | Replace with dry layer if available | Staying warm becomes difficult |
| Cold fingers or toes | Stop safely, add protection, go indoors | Numbness, pain, or color change appears |
| Wind enters closures | Adjust shell in a sheltered safe area | Weather exceeds the group’s plan |
| Goggles fog | Stop where safe and restore ventilation | Vision remains impaired |
This is not medical diagnosis. Severe cold, confusion, loss of coordination, persistent numbness, breathing trouble, or other concerning symptoms require prompt local emergency or medical help.
Pack changes, not an entire wardrobe
Useful day-pack items may include a dry mid-layer, spare gloves, neck protection, required medication, water and food suitable for the person, phone protection, current map or operator information, and emergency contacts. Weight and access matter; pack only what the activity plan and qualified guidance support.
Keep avalanche or rescue equipment questions separate from clothing. Such equipment requires correct selection, training, group practice, and current local risk decisions. Owning it does not authorize entry into hazardous terrain.
Adjust at planned pauses
Check layers before joining a lift, entering a long exposed section, or beginning a descent. It is easier to add insulation while warm than after hands have become too cold to manage zips.
Tell companions when comfort, vision, fatigue, or equipment changes. The group plan should allow turning back or going indoors without shame. The mountain has not issued medals for pretending to be fine.
Connect the clothing plan to the first Italian Alps trip checklist, including instruction, live conditions, and backup activities.
Dry and inspect everything afterward
Follow garment and equipment care labels. Dry layers fully before the next use, inspect seams and closures, and replace damaged safety equipment according to manufacturer guidance. Do not place clothing or boots against an unsafe heat source.
Good layering stays adjustable. Manage moisture, preserve insulation, block weather, and respond early when comfort changes—always within open terrain, current official guidance, and personal ability.